Best Way to Label Storage Bins (And Why QR Beats Everything Else)
You probably have at least a few storage bins in your home right now with labels that are either faded, wrong, or completely missing. You meant to update the "Holiday Decor" bin when you added the Halloween stuff, but it never happened. Now you have three bins that all say "Misc" and no idea what's in any of them.
The problem isn't that you're disorganized. The problem is that most labeling methods are fundamentally flawed — they can't keep up with the way real people actually use storage. This guide covers every major labeling approach, what each one gets right and wrong, and which method actually holds up over time.
Method 1: Permanent Marker Directly on the Bin
The marker-on-bin approach is the most common and the worst long-term solution. Here's why people do it anyway: it's free, it's fast, and it works for approximately 48 hours.
The Problems
- Contents change but the label doesn't. You wrote "Winter Coats" but now the bin also has scarves, gloves, and a space heater.
- Marker fades on smooth plastic, especially in garages or anywhere with temperature swings.
- Erasing marker from plastic bins requires acetone and ruins the surface.
- You can only see the label from one angle, which doesn't help when bins are stacked.
Fine for a temporary box in the corner. Not a system. Will fail within months as contents evolve.
Method 2: Adhesive Tape Labels
A step up from marker: write on masking tape or packing tape and stick it to the bin. Easy to peel off and update when contents change. This approach is popular with professional organizers for a reason — it's flexible.
The Problems
- Tape peels off in cold garages, hot attics, and anywhere with humidity fluctuation.
- Adhesive residue is a pain to clean up.
- Still not searchable — you have to physically look at every bin to find what you need.
- Still limited to what you can fit in a few words.
Better than marker because it's updatable. Still fails in extreme temps and still isn't searchable.
Method 3: Color-Coded Labels by Room or Category
Color coding is a staple of professional organizing. Assign a color to each room or category — blue for bathroom, green for kids' stuff, red for holiday decor — and use corresponding colored labels or stickers. At a glance, you can identify a bin's category without reading anything.
The Problems
- Colors only communicate the category, not the contents. "Blue = bathroom" doesn't tell you which bathroom bin has the spare towels vs. the medicine cabinet overflow.
- Adding a new category means buying new labels.
- Still not searchable by item.
- Color-blind users have a harder time with this system.
Good for quick visual sorting. Doesn't solve the "which bin within the category" problem. Best used as a supplement to another method, not a standalone system.
Method 4: Label Makers (Brother, Dymo, etc.)
Label makers produce clean, professional-looking labels. The embossed text is durable, the adhesive is strong, and the result looks intentional. Many serious home organizers swear by their label maker for a reason.
The Problems
- Labels have limited character space. "Camping: tent, sleeping bags, lantern, camp stove, stakes, cookware, rain fly" doesn't fit on a label tape strip.
- Updating requires printing a new label and removing the old one.
- Still not searchable — you can't query a label maker.
- The machine itself costs $30–$80, plus ongoing tape refills.
The best-looking static label solution. But "static" is the key limitation. Storage contents change; label maker labels don't.
Method 5: QR Code Labels with a Digital Inventory App
QR code labels work differently from every other method. Instead of trying to cram content information onto the physical label, the label is just a pointer — it links the bin to a digital record that can contain unlimited information and be updated forever.
Scan the label → see everything in the bin. Add something new → update the digital record. Search for an item by name → the app tells you exactly which bin it's in.
What This Solves
- Unlimited detail. A single QR label can catalog 200+ items in a bin with photos, notes, and quantities.
- Fully searchable. Search "camping stove" and the app finds it instantly across all your bins — in the garage, in storage, anywhere.
- Always current. When contents change, you update the app. The physical label never needs to be replaced.
- Works from any angle. QR codes are square and readable from any orientation — handy for stacked bins.
- Shareable. Multiple family members can all access and update the same inventory from their own phones.
Choose Your Colors
2PACK labels aren't one-size-fits-all. Every label can be printed in your choice of QR code color and background color — 64 combinations in total. Choose a color scheme that matches your bins, your aesthetic, or your room system. All combinations are generated and printed directly from the app — no separate order needed.
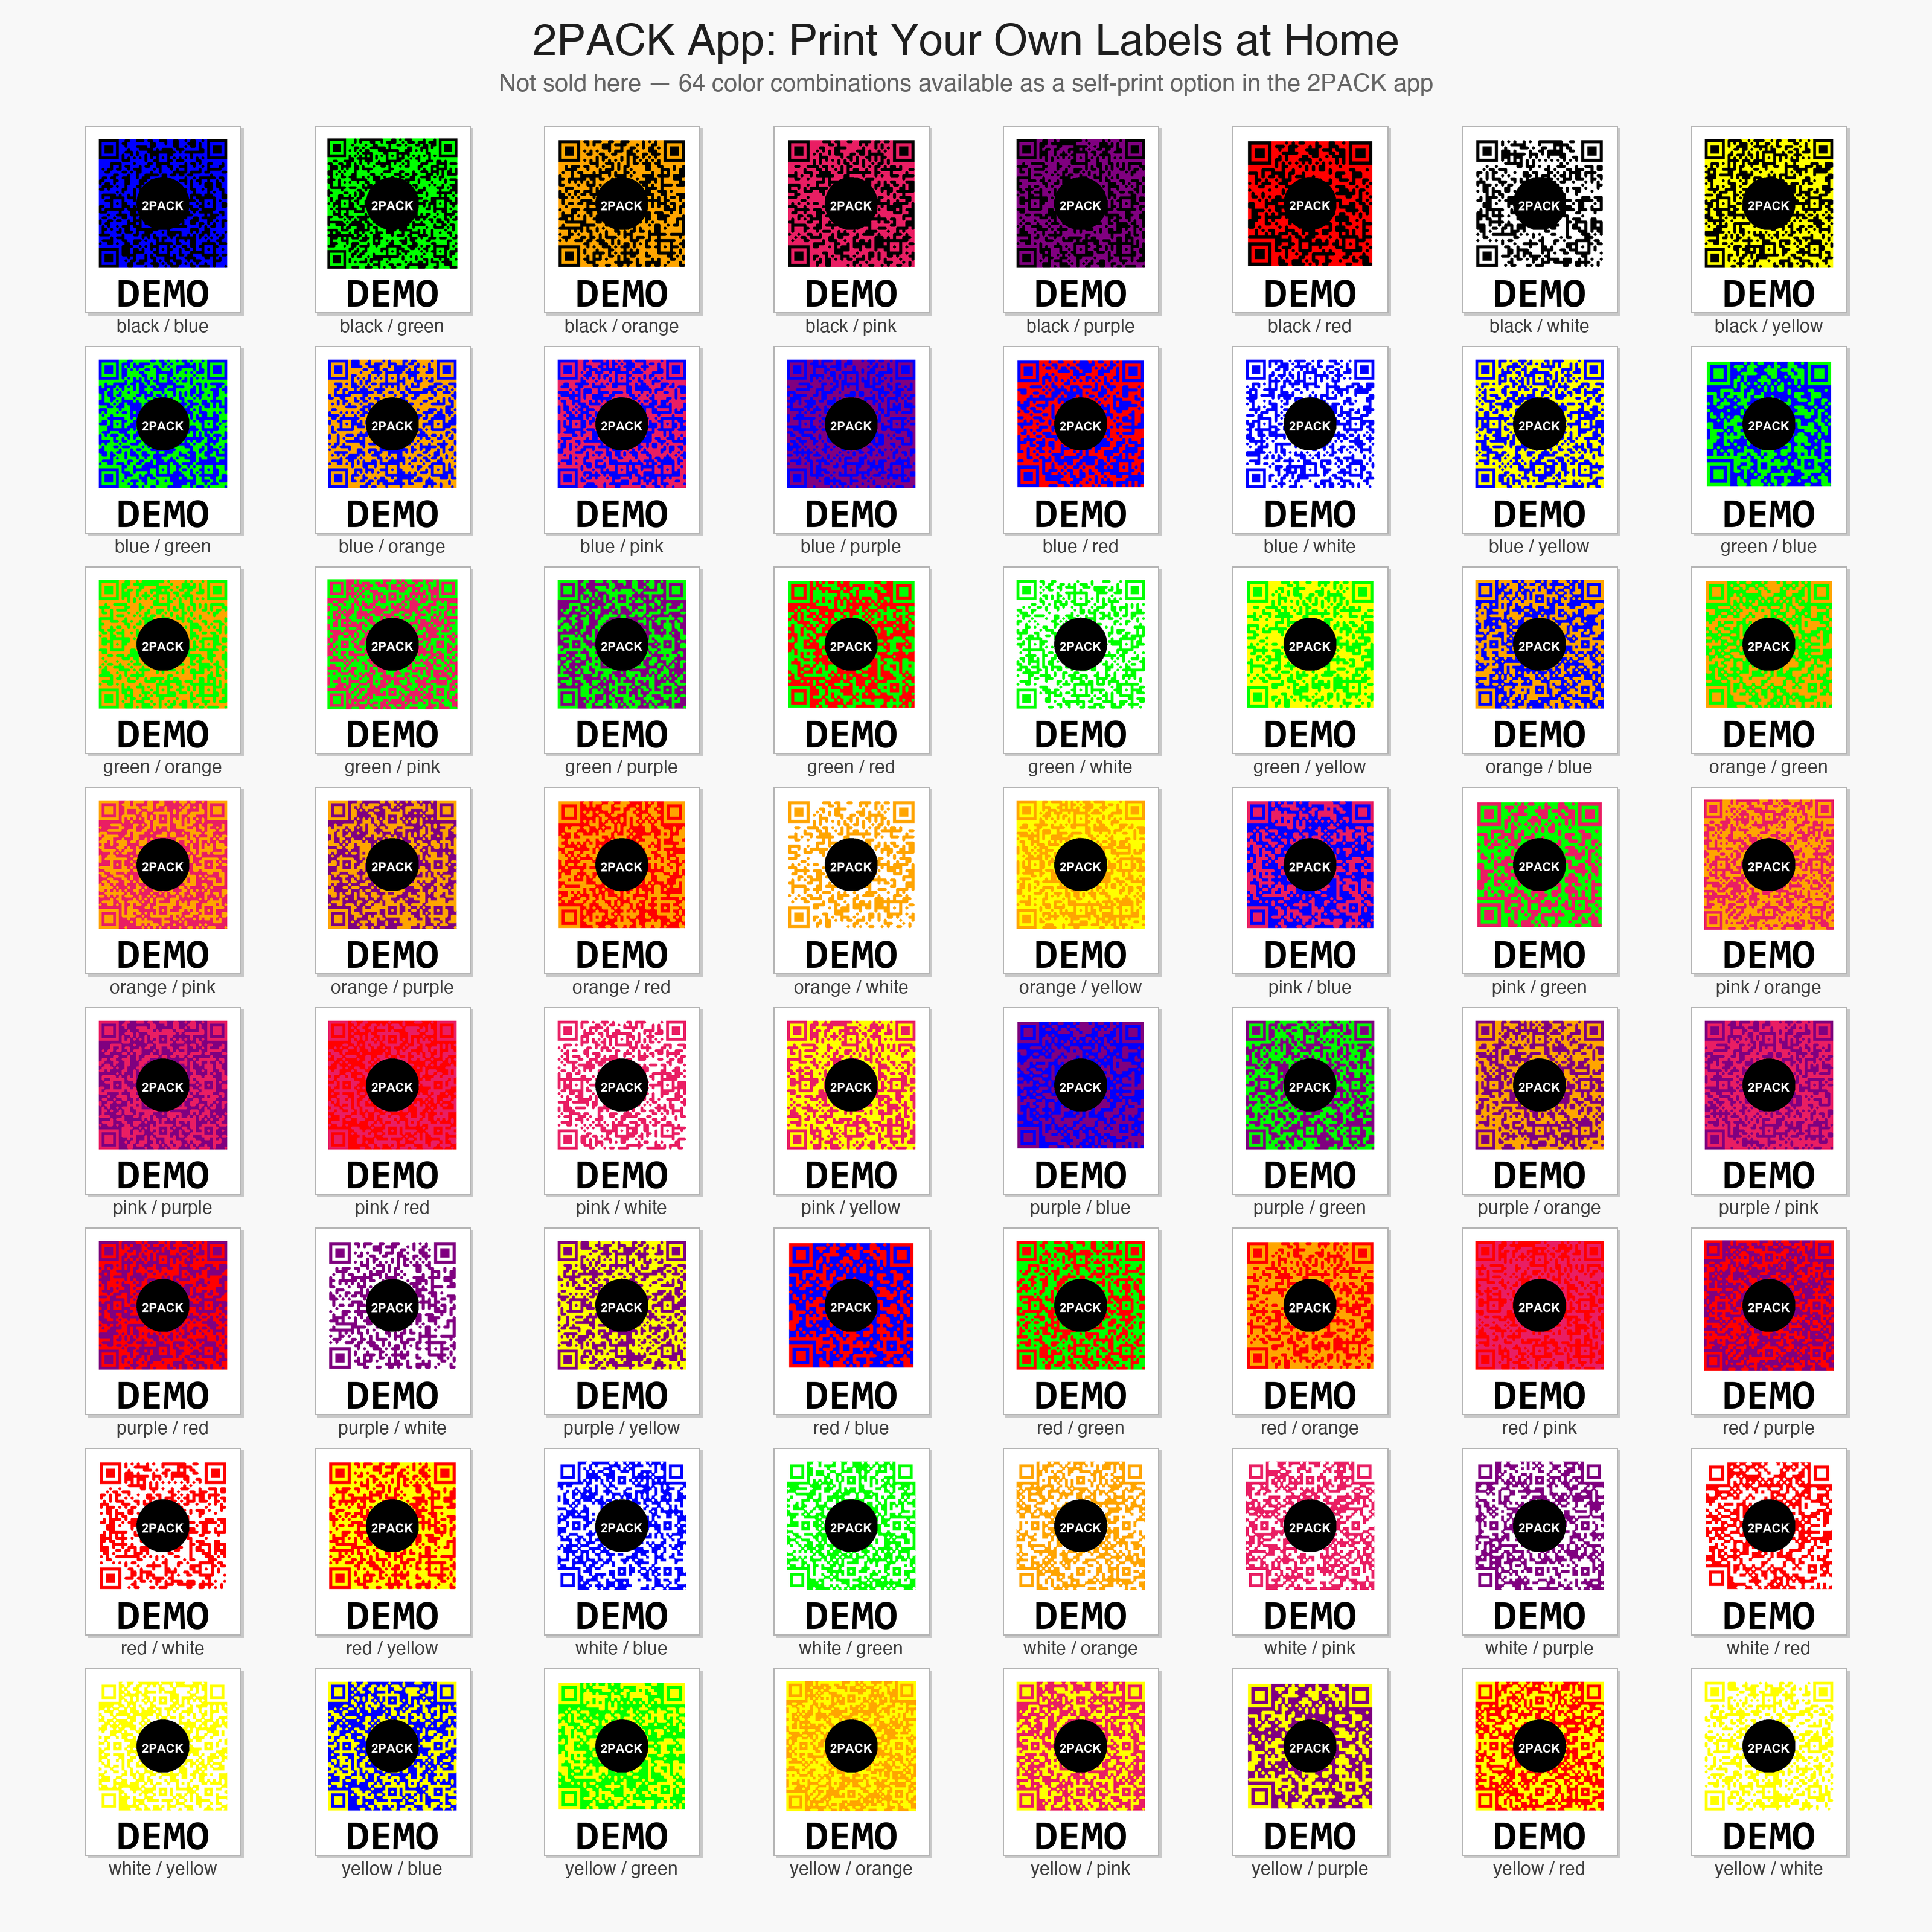
All 64 color combinations — print any of these directly from the 2PACK app.
The only labeling method that scales with how people actually use storage — contents that change over time. The one limitation is requiring a smartphone to read, which isn't an issue for most households.
Side-by-Side Comparison
| Method | Unlimited Content | Searchable | Updatable | Durable | Cost |
|---|---|---|---|---|---|
| Permanent Marker | No | No | No | Poor | $0 |
| Tape Labels | No | No | Yes (remove & replace) | Fair | $1–3 |
| Color Coding | No | No | Partial | Good | $5–15 |
| Label Maker | No | No | Yes (reprint) | Very Good | $30–80 + refills |
| QR Labels (2PACK) | Yes | Yes | Yes (app update) | Excellent | From $5.99 |
When Written Labels Still Make Sense
Even with QR labels, there are situations where a simple written label is useful as a backup. If you have bins in a location where you rarely have your phone handy — or if you share storage with people who aren't tech-comfortable — a brief handwritten note on the bin ("Kitchen overflow," "Kids' art supplies") alongside the QR code can help. Think of written labels as a rough index, and the QR code as the full catalog.
You can also combine label maker labels (for the room/category name) with QR labels (for the detailed inventory). This hybrid approach gives you the clean look of a label maker with the searchability of a digital system. Check out 2PACK's features to see how this works in practice.
Practical Tips for Labeling Storage Bins
- Label all four sides of a cube bin if possible — you'll inevitably stack them so only one side is visible.
- Use specific categories, not room names. "Power Tools" is more useful than "Garage" when you have 15 garage bins.
- Photograph the bin contents when you first set it up. Most QR label apps including 2PACK support photos per bin, and a photo is worth a thousand written item descriptions.
- Label bins before you fill them to avoid the "I'll do it later" trap that leaves 30% of bins unlabeled.
- Do a quarterly review. Bins shift. Items migrate. A 15-minute check every three months keeps the catalog accurate.
The Bottom Line on Labeling Storage Containers
Every method works on day one. The question is which one still works six months later when your storage situation has evolved. Written labels fail because contents change. Color coding fails because it can't convey specifics. Label makers fail because they're expensive to update.
QR code labels are the best way to label storage bins because they separate the physical label (which never changes) from the digital inventory (which can be updated endlessly). You invest once in the labels and get a searchable home inventory that grows with you.
Browse 2PACK QR label packs starting at $5.99 — no subscription, no monthly app fees. Or check the pricing page to find the right size for your home.
Ready to Get Organized?
2PACK QR labels start at $5.99. Free app, no subscription, no monthly fees.
Shop Labels →